Howto Checkpoint
Contents
Introduction
This guide provides information that can be used to configure a device running Checkpoint NGX version 8.0.33 or higher to support IPsec VPN client connectivity. The Shrew Soft VPN Client has been tested with Checkpoint NGX products to ensure interoperability. The configuration guild below shows examples from an Embedded NGX product.
NOTE: Checkpoint NGX is only supported by Shrew Soft Client version 2.1.5 RC2 or later.
Overview
The configuration example described below will allow an IPsec VPN client to communicate with a single remote private network. The client uses the pull configuration method to acquire the following parameters automatically from the gateway.
- IP Address
- IP Netmask
- DNS Servers
- WINS Servers
Gateway Configuration
This example assumes you have knowledge of the Checkpoint NGX gateway web configuration interface. For more information, please consult your gateway product documentation.
Interfaces
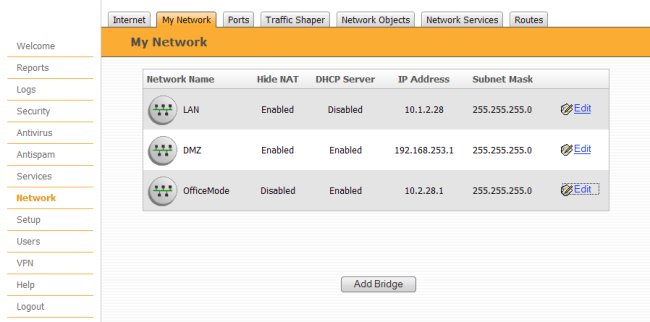
Two network interfaces are configured. The Internet Primary interface has a static public IP address of 10.1.1.28 which faces the internet. The internal interface has a static private IP address of 10.1.2.28 which faces the internal private network. The default gateway is configured as 10.1.1.1 via the WAN interface.
Office Mode Network
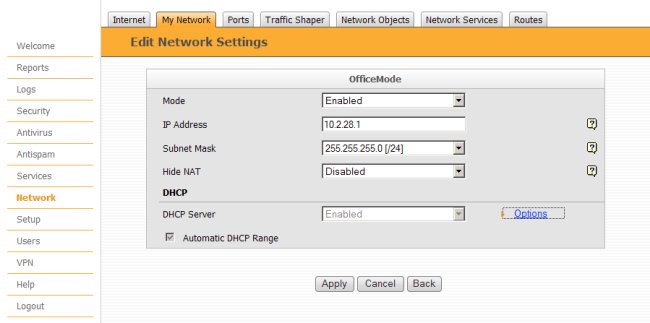
The Office Mode Network is the Checkpoint name for the remote access client network configuration. To configure these settings, navigate to the Network page and click the My Network tab. Then click the Edit link that corresponds to the Office Mode network.
Define the following parameters.
- Mode = Enabled
- IP Address = 10.2.28.1
- Subnet Mask = 255.255.255.0
NOTE : The IP Address and Subnet Mask defines the network that will be used to assign client virtual addresses. It is important to use a network that does not overlap a private network that exists behind the Checkpoint gateway.
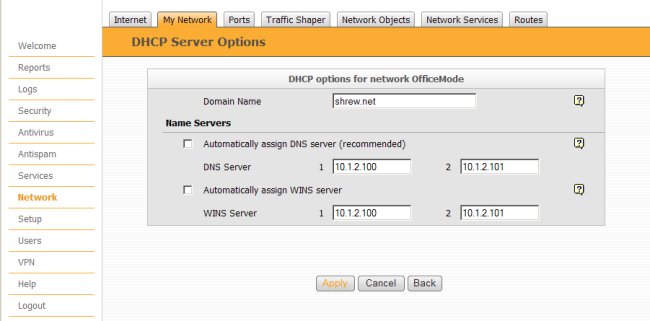
Click the Options link and define the following parameters.
- Domain Name = shrew.net
- DNS Server 1 = 10.1.2.100
- DNS Server 2 = 10.1.2.101
- WINS Server 1 = 10.1.2.100
- WINS Server 2 = 10.1.2.101
Click Apply when done.
Internal Users
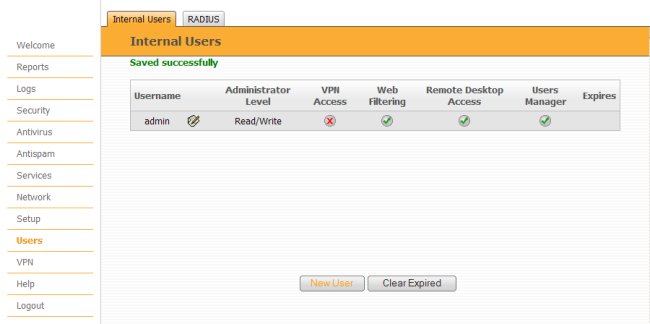
Before users can authenticate, individual accounts must be created. To configure these accounts, navigate to the Users page and click the New User button.
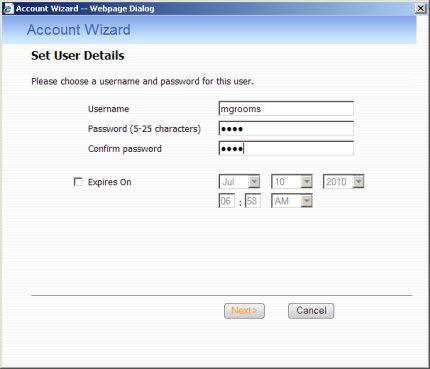
Enter the basic user information including the User name and Password. Once done, click Next to continue.
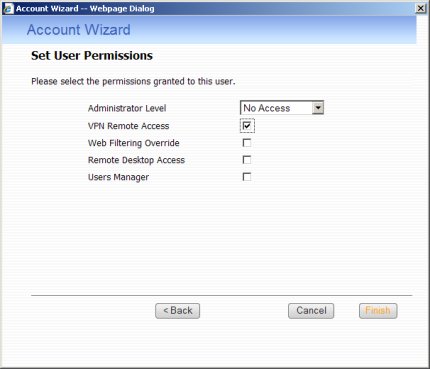
Enter the permissions for the new user. Be sure to enable the VPN Remote Access option. Once done, click Finish to continue. Repeat this process for all users.
VPN Remote Access
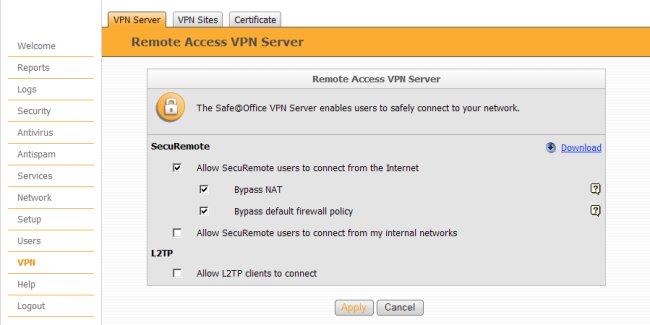
Remote access support needs to be enabled before users can connect to the gateway using a VPN Client. To configure these settings, navigate to the VPN page and enable the following options.
- Allow Secur Remote users to connect from the internet
- Bypass NAT
- Bypass default firewall policy
Exporting the Certificate
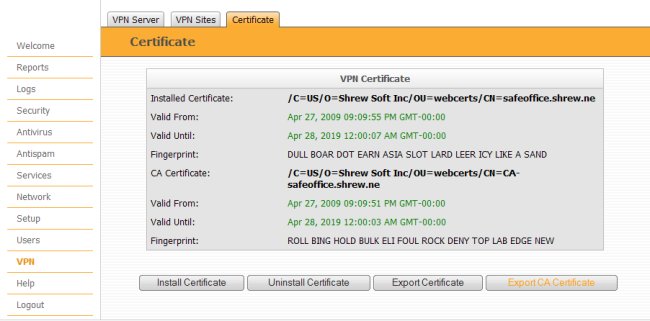
In order for the client to VPN Client to correctly validate the Checkpoint gateway, it needs to have a copy of the certificate authority which contains the public key used for RSA authentication. To download the certificate from he gateway, click the Export CA Certificate button.
NOTE : Firmware versions prior to 8.0.33 do not support certificate export.
Converting the Certificate
In a perfect world we would be done. Unfortunately, OpenSSL and Checkpoint apparently disagree on the PKCS#12 certificate container format. Since the VPN Client uses the OpenSSL library to read certificate files, we need to convert it into a format that can be read by the client. The only method I have discovered to convert these certificates successfully is rather annoying. It involves importing it into the certificate storage of a Microsoft Operating system and then exporting it in PEM format.
NOTE : You will need administrative access to the host to complete this process.
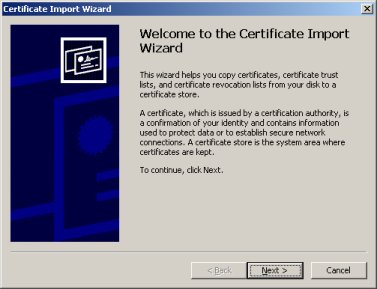
Copy the file to a windows OS and double click the file. A Certificate Import Wizard will appear. Click the Next button.
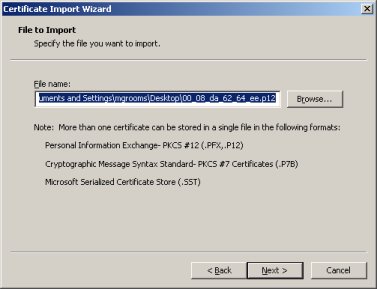
The File name field should be populated with the path to your certificate file. Click the Next button.
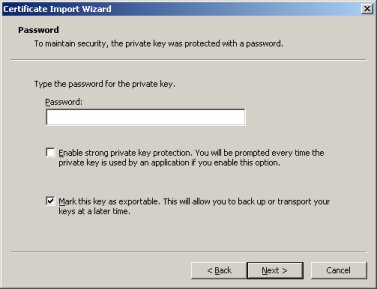
Although you are presented with the opportunity to enter a password, leave this field blank. Be sure to check the Mark this key as exportable option so we can export it later. Click the Next button.
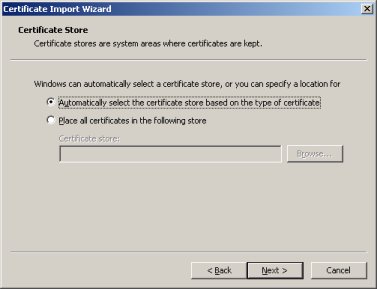
Let windows automatically select the certificate store. Click the Next button.
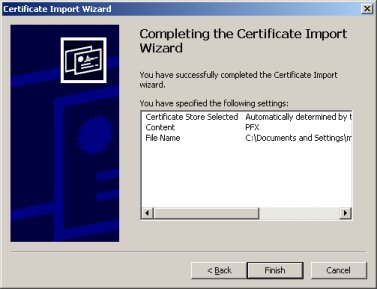
Now we have a dialog that says you have completed the wizard. Click the Finish button.
You should be prompted with a small dialog that states your certificate has been imported. Click the Ok button.
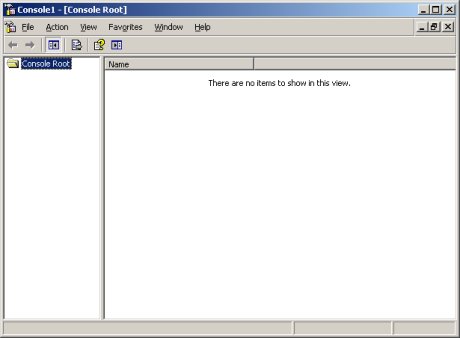
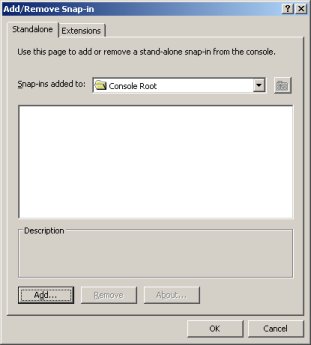
Now that we have imported the certificate, we need to find it using the Microsoft Management Console Certificate snap-in. Start by going to the Start Menu, select run, enter 'mmc' and click the Ok button. You should see an empty Microsoft Management Console open. Before we can use the certificate snap-in, we need to add it to the console. Go to the File menu and select the Add/Remove Snap-in option.
Click the Add button.
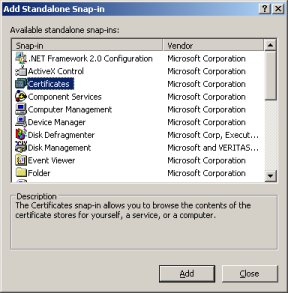
Select the Certificates snap-in and click the Add button.
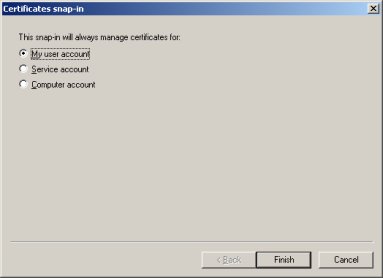
You only need to add this for your user account, so just leave the default option and click the Finish button. Then click the Close and then the Ok button to get back to the root mmc window.
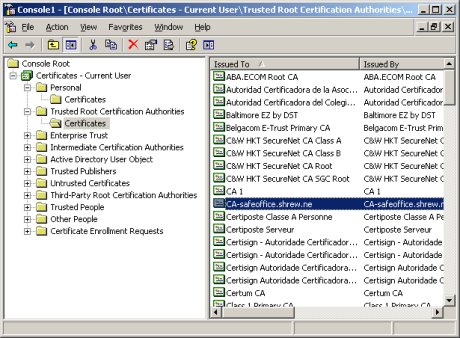
You should now see all the certificates viewable by your user account. Browse though the certificates to the Trusted Root Certification Authorities / Certificates container. This will populate all the trusted CA certificates in the right hand list view pane. Browse down until you find the certificate that matches the distinguished name of the certificate you exported from the Checkpoint web interface and double click it.
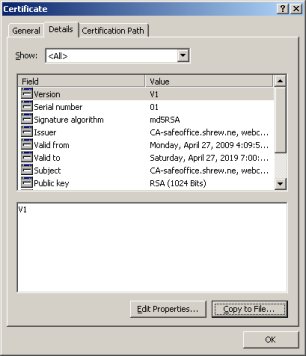
A certificate dialog should appear. Navigate to the Details tab and click the Copy to File button in the lower right hand corner of the dialog.
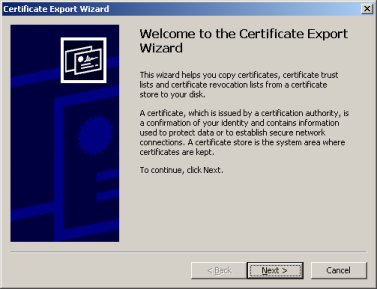
Now we have a Certificate Export Wizard. Click the Next button.
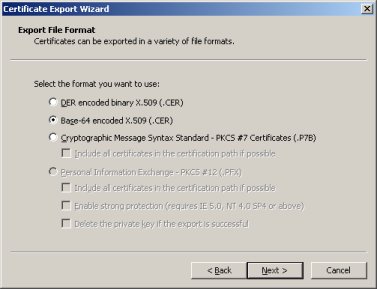
Next you will be asked to select the file format. Be sure to select the Base-64 encoded X.509 (.CER) option. Click the Next button.
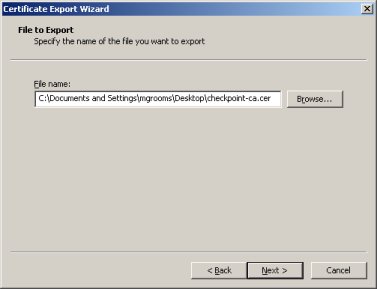
Browse or enter the file name to save you exported certificate as. If you add an extension, it will still add the .cer extension after your entered extension. If you picky about your certificate extensions ( I prefer .crt ), you will need to edit the file name after it is exported.
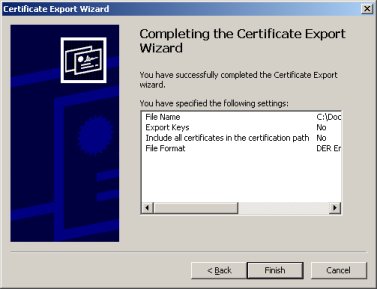
Now we have a dialog that says you have completed the wizard. Click the Finish button.
You should now have a usable certificate. That was a lot of work just to sanitize some file content. If anyone has a better suggestion, please let me know using our handy web site contact form.
Client Configuration
The client configuration in this example is straight forward. Open the Access Manager application and create a new site configuration. Configure the settings listed below in the following tabs.
General Tab
The Remote Host section must be configured. The Host Name or IP Address is defined as 10.1.1.28 to match the NGX Internet Primary interface address. The Auto Configuration mode should be set to ike config pull.
Client Tab
The Firewall Options must be configured. The NAT Traversal setting should be set to disable. Checkpoint claims it support RFC NAT-T but see no evidence of this for remote access connections. Even the official client tunnels UDP over a non standard port despite exposing a NAT-T configuration option.
Authentication Tab
The client authentication settings must be configured. The Authentication Method is defined as Hybrid RSA+XAuth.
Local Identity Tab
The Local Identification Type should be set to Fully Qualified Domain Name but leave the corresponding FQDN string blank.
Remote Identity Tab
The Remote Identification Type should be set to IP Address or Any.
Credentials Tab
The Credentials Server Certificate Authority File should be set to the path of the Checkpoint CA certificate you exported and converted.
Phase 1 Tab
The Exchange Type should be set to main with all other parameters left to default. Be sure to check the Enable Check Point Compatible Vendor ID option at the bottom of the Dialog.
Policy Tab
The IPsec Policy information must be manually configured when communicating with Checkpoint gateways. Create an include Topology entry for each private network behind on the gateway. For our example, a single Topology Entry is defined to include the 10.1.2.0/24 network.
Known Issues
- Nat Traversal ( RFC NAT-T ) is not supported.
- There may be problems with re-keying ISAKMP security associations.
